|
| FreeSpace2: The Road to SCP (3) FreeSpace2: The Road to SCP Chapter 3 - Installing VP files FreeSpace2: SCPへの道 第3章 - VPファイルのインストール Section 0 - Supplement for previous article 第0節 - 前回の補足 One more caution is there. SCP version of FS2 overwrites pilot data. Overwritten pilot files are no longer compatible for retail version of FS2. I recommend take backup pilot data files by copying and renaming "FreeSpace2\Data\Players" folder. 前回とりあえずSCPを動作させましましたが、注意事項が一つあります。 SCPは既存のパイロットデータ(セーブデータ)を書き換えてしまいます。 書き換えられたデータはリテール版のFS2では使用できませんので、もしリテール版の FS2用のセーブデータを残しておきたいときはバックアップを取っておきましょう。 パイロットデータは「FreeSpace2\Data\Players」フォルダにありますので、 このフォルダを名前を変えてコピーしておけばいいでしょう。 Section 1 - Installing VP files 第1節 - VPファイルのインストール Installation of VP files is easy. Simply decompress and place VP files into your FreeSpace2 folder, such as "C:\Games\FreeSpace2". SCP FS2 automatically uses these VP files. No setting required. Two VP patches are there, however, these are also independent VP files. Place them your FS2 folder like other VP files. In this time, following VP files are used. VPファイルのインストールは簡単です。ダウンロードしたVPファイルを解凍して FreeSpace2のインストールされているフォルダに置くだけです。 単純に置いておくだけでSCP本体から認識されますので、特に設定は必要ありません。 具体的には、以前ダウンロードした下記のVPファイル解凍して、それを 「C:\Games\FreeSpace2」フォルダにコピーします。 パッチファイルが2種類ありますが、これも単に解凍して置くだけなので、 特別な作業は必要ありません。 mv_adveffects.vp mv_amodelspatch.vp mv_amodelspatch2.vp mv_core.vp mv_effects.vp mv_models.vp mv_music.vp mv_textures.vp "mv_zpack" was downloaded chapter 1, however this is a set of some VPfiles. So this is not required if you were downloaded other VP files separately. なお、第一回で「mv_zpack」をダウンロードしましたが、これは単にいくつかのVPファイルを まとめたものですので、個別に全てのVPファイルをダウンロードした場合は使用しないことがわかりました。 Now start SCP. You will find effects and models are modified and upgraded.(Click image to lager view) ゲームを起動してみましょう。ビームやエンジンウォッシュの効果やモデルが高解像度になっているのが わかります。(画像をクリックすると拡大表示します) 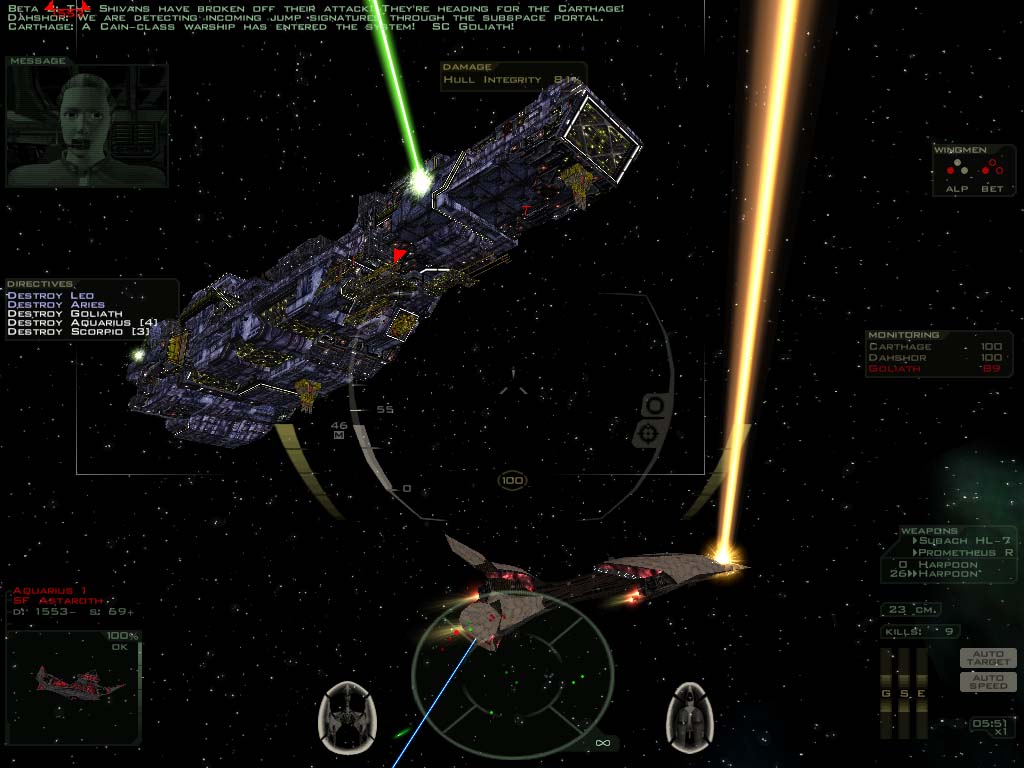 Section 2 - Installation of VP files as a MOD 第2節 - VPファイルをMODとしてインストールする Now we can play FS2 SCP at high resolution contents. Karajorma' site, [ The FreeSpace Oracle ] introduces another method of VP files installation. By this method, SCP recognizes VP files as a MOD. This method enables easily turning on and off contents of VP files. First, make "MediaVPs" folder in FS2 folder. This may be "C:\Games\FreeSpace2\MediaVPs". Copy all VP files into this folder. Next, run the SCP launcher (see figure below). Click "MOD" tab(in red circle) and then press "Select MOD" button(in blue circle) and select "MediaVPs" folder. When selection completed, launcher displays "MediaVPs" at yellow circle. This setting is useful for future update and troubleshooting. これで一応SCPが遊べるようなったわけですが、Karajorma氏の [ The FreeSpace Oracle ] で、 安全や他のMODとの互換性のために、簡単にVPファイルを無効にできるようなインストール方法が 紹介されています。次は、この方法を試してみましょう。 この方法は、VPファイルをFS2のインストールされているフォルダではなく、新しく専用のフォルダを 作ってそこに置き、SCPのランチャーでそのフォルダを指定する、というものです。 具体的にはまず、FS2のインストールされているフォルダに「MediaVPs」というフォルダを作ります。 例えば、「C:\Games\FreeSpace2\MediaVPs」を作り、そこにVPファイルをコピーしておきます。 次に、ランチャーを起動します。「MOD」タブ(赤い丸印)の「Select MOD」ボタン(青い丸印)を押して、 先ほど作った「MediaVPs」フォルダを選択します。正しく選択されると、黄色の丸印のように 「MediaVPs」と表示されます。こうすることで、問題が発生したりバージョンアップがあっても 簡単にVPファイルを切り替えられるようになります。  Summery of this article: Installation of VP files (A) Place VP files into your FS2 folder. (B) Installation VP files as a MOD enables easily turning on and off contents of VP files. To be continued. Next article will be about installation of Movies (Cutscenes). 今回のまとめ: VPファイルのインストール (A) VPファイルはFS2のインストールされているフォルダにコピーしておくだけでよい。 (B) VPファイルをMODとしてインストールしておけば、後から簡単に切り替えができるようになる。 次回、「ムービー(カットシーン)のインストール」に続きます。 |